DiY Telepompter, Failure in Progress
I’ve been working on a DiY teleprompter for the past several weeks in an attempt to put together something that was functionally identical to a commercial teleprompter product, but wouldn’t cost significant money out of pocket. Especially since the design of a teleprompter is easy enough, you need something to hold the display—in my case an iPad2—and a partially silvered mirror at 45° to the display to reflect it in front of the camera.
While the holder part of things was easy enough to construct, solving the glass problem has been a bit more challenging. My prototype was fabricated out of 3/16-inch foamcore board and an 11×14 inch piece of glass form a picture frame. Total cost, nada. Total cost if buying everything, maybe $15—depending on the glass.
On its own, the glass could be possible without any coatings if I get the angle right or it was a different thickness. In fact, it may be possible to use an un-mirrored sheet of glass provided you have it angled in such a way or it’s sufficiently thick or thin that the reflections from both surfaces don’t destructively interfere.
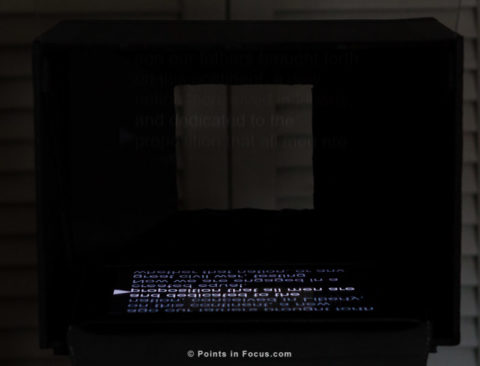
Unfortunately, the piece of glass I have is just the right thickness to produce almost perfect destructive interference at right around 45°.

Change the angle slight, and you get a faint double image but an image none the less.

To counter this effect, the glass pane needs to be partially silvered. That’s what makes it a beam splitter and that’s what is used in commercially available teleprompters. The trick is doing this on a DiY scale budget, since there’s no real point in spending a couple hundred on a partially silvered/beam splitter mirror, when for a bit more you can get a whole Teleprompter commercially.
I had seen a number of sites that suggested that you could use commercially available mirrored window film as a way to fake a partially silvered mirror. A roll of Gila Privacy Guard mirror window film is only $30 so that’s at least within a DIY sized budget, even if you’re only going to use a small piece of it.
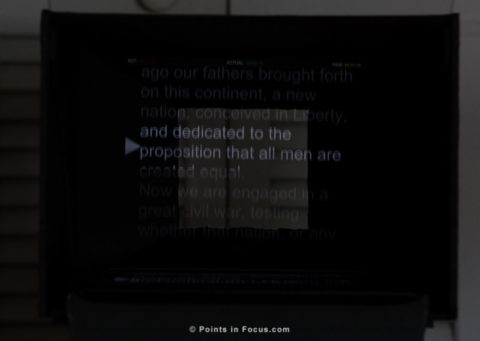
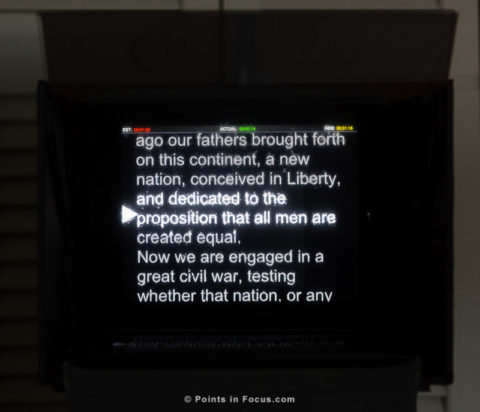
On the positive side, it works; well for a very lose definition of works. Applying the mirrored film to the glass dramatically improves the ability to read what’s being displayed, as seen in the image below.

The problem I’m having is getting a good enough application of the film to make shooting though it possible. I’ve made two attempts at applying the mirror film without success. The first attempt resulted in a myriad of scratches in the film. They appear to have come from the squeegee I used to apply the film but I’m at a loss as to why. They squeegee was clean before use and the exposed side of the film was as well. Yet it scratched.
My second attempt didn’t scratch but resulted in other optical problems. Any imperfections introduced in the application, such as imperceptibly small stretching or bubbles results in distortion when viewing though the glass as they camera does. The loss in IQ was bad enough I could see it with the naked eye, which meant it was useless for a camera.
In short, I think I’m going to abandon the idea of simply throwing a layer of mirror window tint on a piece of glass and getting something workable out of it. It was a nice theory, and I’ve seen a couple of reports of people having had success with it, but it doesn’t seem to work for me at all, so it’s back to the drawing board for now.
Comments
Try laminating glass with 75% index (eBay $4.60) and when laminating, do It in a small tub filled with demineralised water, so when you applying film do it under water, it will ensure there’s no bubbles also when using squigy underwater place piece of plastic (similar to iPad screen protector so it’s slightly firm) in top of your film so when you squegy it, you don’t rub film directly , so there’s no friction on film
Hi Will,
Thanks for the tips. If I get around to trying to do this again in the future I’ll be sure to give that a try.